Making Spiral Trousers: A Step-By-Step 3D Learning Journey
- Ecaterina Verbitcaia

- Mar 28, 2022
- 5 min read
Hello! My name is Ecaterina (@katrinverb) and I’m studying fashion design in Romania. From September to November 2021 I was an intern for ZWDO Collective, and made a sewing project besides the management work I did.
Initially I didn’t plan to sew anything during the internship, but after a few weeks of working on the computer, Mylène (ZWDO co-founder) offered me her sewing machine and some fabrics to experiment with. The idea was to make something physical, not just virtual, and to see how zero waste design works in real life. Mylène guided me through the process and gave some precious feedback.
I hesitated between the coat and the trousers, but opted for the last option as it seemed more challenging and mysterious. I started with a paper mockup following Holly’s McQuillan workshop to understand the basic principles of the Make/Use system. The next step was creating the 3D version of the garment with my measurements.
Working with Clo3D

Pictured is my first attempt to develop the pattern for the trousers in Clo3D. I put a lot of effort into the details - the pink part is the belt. In the end the whole pattern looked like a grumpy face, haha.
I made several different variations as I was trying to make the best fit for the fabric I had. The fabric was a squared vintage French curtain from a secondhand clothes sorting centre in Bordeaux, LE RELAIS.
Mylène suggested making a horizontal cut on the leg triangle detail so I could have a truly zero waste garment. So I made the adjustment and it worked!

So instead of each leg being a triangle, it came across as a triangle and trapezoid. The crotch cutout was meant to be used for pockets.
I played a lot with fitting to get a shape which would satisfy me, but I couldn't wait to start sewing, so I finished 3D after I finished the physical garment.
I found an image with an almost identical pattern as the fabric I’ve chosen and applied it in 3D. This is how the final pattern looked:

Another tip: measure first the circumference of the ankle! Otherwise you won’t be able to pull your feet through because the ankle is on the bias and the waist is on the straight grain. Just something to keep in mind.
Sewing the Spiral Trousers
Then I made a prototype from an old bed sheet with a heart pattern to check the fitting.
The mockup had some vertical pleats which I didn't need, so I decided to make a looser fit, and that's where I failed: I added 2cm on horizontal lines, not diagonal ones! So the final trousers were tight, but I actually didn't mind it. The only problem was that the waist was too high - higher than my actual waistline. So I cut the top part and used it for the double cuffs as a finishing for the legs.
The tricky part about some zero waste designs and especially this spiral trouser pattern is that the measurement lines are diagonal, not horizontal! Pretty obvious, right?! I was just not used to it, and that was my biggest problem with this project.
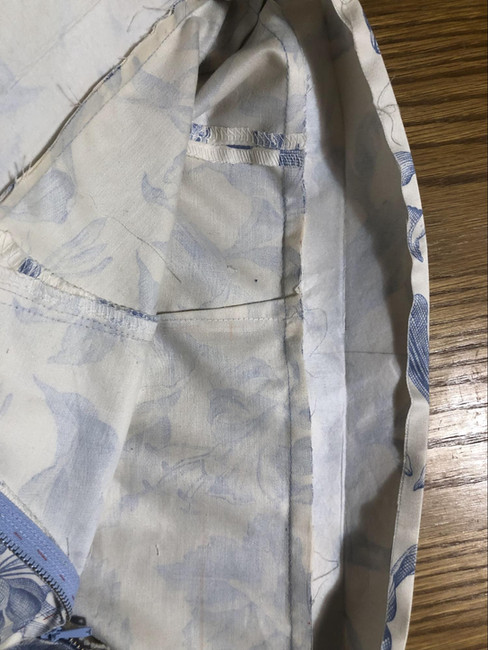
Regarding the pockets I wanted to do the ‘invisible’ ones - welt pockets. I find it pretty complicated as you have to be very precise about each millimetre as it directly influences the final look. That's why I did an exercise on the mockup to make sure I did it correctly. But after all this, I didn't end up using this type of pocket because (again) my trousers were too tight, so I applied the pockets on top of it, using the crotch cut out.
After trying the prototype and making some changes on the waist and hips I cut the pattern out of the original fabric.
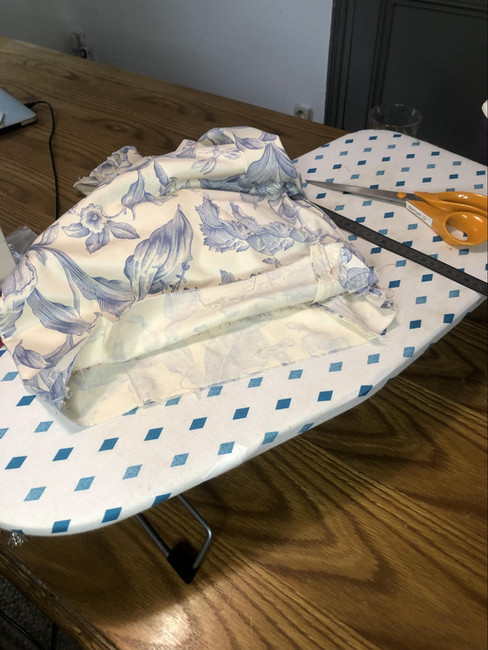
First of all I stitched the small triangle with the trapezoid to get the big triangle which will be wrapped around the leg. Then I overlocked all the edges and pinned together the spiral seam.
The trickiest part is the bottom cut, because if you don’t pull the seam allowances in the right direction, you will have a small piece of extra fabric, which will be wasted. So I started by matching two red lines: a mark for circumference of the ankle and a mark for seam allowance.
I always use a running stitch to join all the details during the fitting process. So the red thread you see in pictures is a hand stitch to ensure that everything is symmetrical and ready for machine stitching. And after one more fitting I realised I wanted the waistline 5cm lower again! So I used a copy stitch: I hand-stitched two layers together on which I needed the same waist line, and then cut the thread between them, so I had small thread pieces on both sides and could draw a clear line with the chalk which was perfectly symmetrical.
For the top part of the trousers I decided to use the waistband as it gives the garment a finished look. I wanted the inside part to look clean, so I cut a strip of the fabric, fused it to make it thicker, ironed it double, stitched it to the trousers, ironed the seam allowances towards the top, and hid it with the inside part of the belt.
After I ironed the seam allowances towards the interior part and ‘closed’ the waistband, I used a running stitch (black thread) again right on the join line of the trousers and the belt.
I used the same technique for the cuffs but made them narrow: 2.5cm wide. I really like how the cuffs and the waistband match each other.
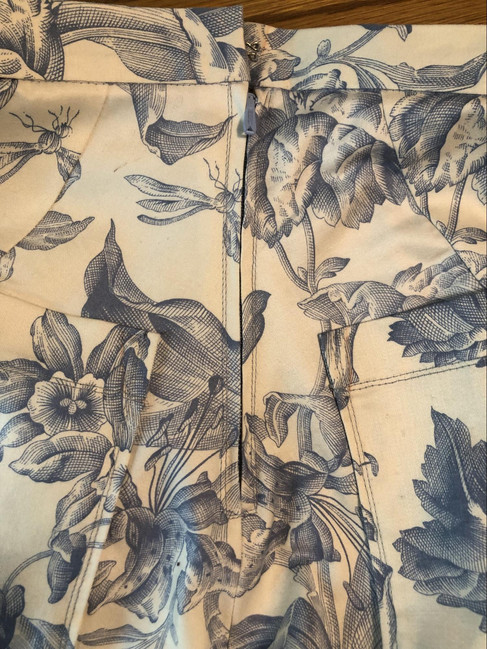
The closure is a zipper and a hook and eye sewn inside the belt. The zipper is stitched 0.7cm away from the vertical edge.
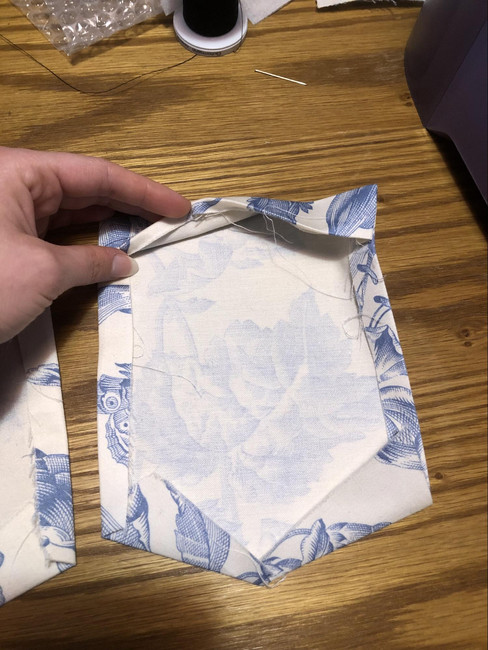
I had to undo the second stitch around the zipper because it was far from straight. So I left a double decorative stitch just on the pockets. The seam allowances of the pockets are not even as I tried to use the maximum of fabric. The top part is just 3cm folded towards the inside with the seam allowance hidden.
After I tried on the trousers and pinned the pockets in the right place, I topstitched them with a slightly thicker thread, Amann cotton 80. For the rest of the stitches I used a thinner thread, 120.
The Final Outcome
Here is the final result! It’s not perfect, but it’s very dear to me as this was my first experience with zero waste design!
Here are a few bonus pictures of me sewing :)
I am overexcited about this piece in my wardrobe. I have already shown it to my friends and colleagues and amazed them that something like spiral patterns exist!
You can see more of my designs at @_verbe__.
As a reminder, we run ZWDO on a very small budget and dedicate our own time and money to keep the platform as educational and engaging as possible for as many people as possible. We would be extremely grateful if you are able to support us to contribute to the ongoing development of Zero Waste Design Online. Support us here.
Thank you for reading and for your ongoing support!
Follow @zwdo_collective on Instagram.
Sign up to the ZWDO Newsletter.













I’ve always admired studios like Form Us With Love for their philosophy of meaningful design. Their work demonstrates how simplicity, when done thoughtfully, can be deeply impactful. It’s not just about creating something new; it’s about crafting something with purpose and beauty. That mindset carries perfectly into platforms such as https://www.gambody.com/ where digital artists can give form to their imagination through 3D printing. It’s exciting to see how these worlds are merging to create a future where art, design, and technology coexist seamlessly.
Xổ số Phú Quốc Kỷ niệm mười năm
Với tin nhắn này
Liên hệ với bộ phận chăm sóc khách hàng để đăng ký nhận 100% tiền thưởng cho lần nạp tiền đầu tiên
trang mạng: Lihi1.cc/nLMGt
zalo: 0924611958